How to create custom post type in WordPress
Custom post types in WordPress allow you to create and manage different types of content that are separate from regular posts and pages. They provide a way to organize and structure content based on specific needs and requirements.
To create a custom post type in WordPress, you can follow these steps:
1. Open your theme’s functions.php file or create a custom plugin by following the guide.
2. Add the following code in it.
    function create_menu_item_post_type() {
    $labels = array(
        'name'               => 'Menu Items',
        'singular_name'      => 'Menu Item',
        'menu_name'          => 'Menu Items',
        'add_new'            => 'Add New',
        'add_new_item'       => 'Add New Menu Item',
        'edit'               => 'Edit',
        'edit_item'          => 'Edit Menu Item',
        'new_item'           => 'New Menu Item',
        'view'               => 'View',
        'view_item'          => 'View Menu Item',
        'search_items'       => 'Search Menu Items',
        'not_found'          => 'No Menu Items found',
        'not_found_in_trash' => 'No Menu Items found in Trash',
        'parent'             => 'Parent Menu Item'
    );
    $args = array(
        'labels'              => $labels,
        'public'              => true,
        'has_archive'         => true,
        'publicly_queryable'  => true,
        'query_var'           => true,
        'rewrite'             => array( 'slug' => 'menu-item' ),
        'capability_type'     => 'post',
        'hierarchical'        => false,
        'supports'            => array( 'title', 'editor', 'thumbnail' ),
        'menu_position'       => 5,
        'menu_icon'           => 'dashicons-food'
    );
    register_post_type( 'menu_item', $args );
}
add_action( 'init', 'create_menu_item_post_type' );
This code registers a custom post type called “menu_item” with various settings and labels. It supports a title, editor, and thumbnail fields, and it uses the dashicons-food icon in the admin menu. You can customize these settings according to your specific requirements.
3. Save the changes to functions.php or your custom plugin file.
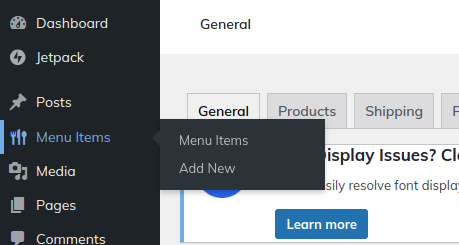
After implementing this code, you can navigate to the WordPress admin area and see the new “Menu Items” menu item in the sidebar. From there, you can add, edit, and manage menu items separately from regular posts and pages.

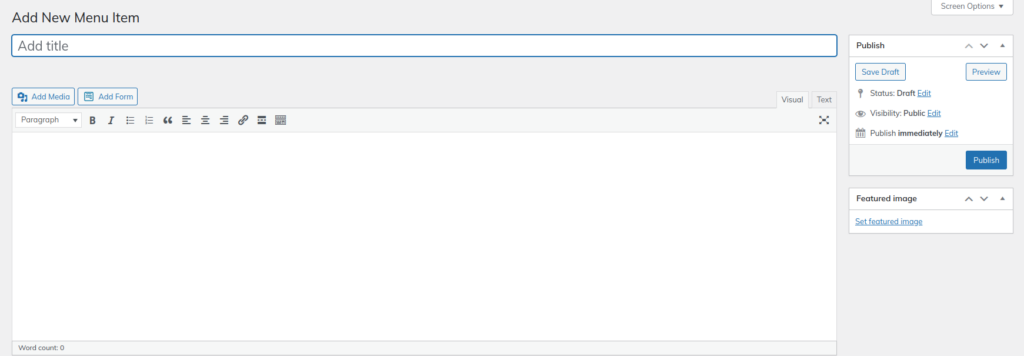
You can add new items by clicking on Add New Menu Item.

You All added menu items will appear in the Menu Items menu.

You can further enhance this custom post type by adding custom fields, taxonomies (e.g., “Categories” for menu items), and custom templates to control the display of menu items on the front-end.